Sometimes though, just using a paper distresser or a sanding block just isn’t enough for the distressed edge that I want. I tried running it under a faucet of water and discovered that I like the effect.
I’d like to share this simple technique with you. Try it out and see the effect it can do for your layouts.
Materials:
- Patterned Paper - I suggest using Making Memories papers. They are the Featured Manufacturer for the month at AWDML. All Making Memories products are 15% off through March 31.
- Paper Distresser
- Foam Brush
- Small amount of water
Steps:
- Using a paper distresser, distress the edges of your patterned paper. Just distress enough to have a frayed edge. - After distressing, get a foam brush and dip in water.
- Brush the wet foam over the distressed edges. This will soften up the edges, which will help you further distress it using your fingers.
- Note: Wet a sizeable area of your patterned paper so it doesn’t dry up as you go along distressing it.

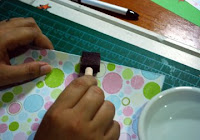
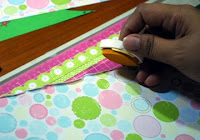
- While the edges are wet, curl it using your fingers (as shown in the visual). Curl it to further give it that distressed look. You may do curl it as much as you want based on your preference.
- As an option, you can also run the paper distresser through the edges while it’s still wet.
- After achieving your desired distress look for the paper edges, let it dry. Note that the paper may curl a bit as it dries up.
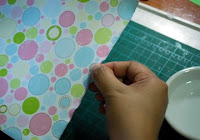
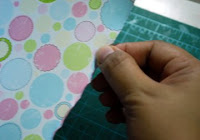
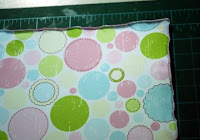
There you have it! Now you can do what you want on your distressed paper. I inked the edges to highlight it and to create a contrast for my layout. Check out the final layout below. Do try this technique and enjoy the results.


materials used: patterned paper, chipboard - making memories; alpha - american crafts; ink - colorbox; others - glitter glue, bling

Thanks for posting this Liza! Definitely gonna bookmark this technique!b
ReplyDeletecool idea liza... and beautiful LO!
ReplyDeleteLove the tip LIza...
ReplyDelete